05. Setting up Product Recommendations based on Azure ML Studio

eShopOnContainersAI runs a product recommendations model which is based on Azure Machine Learning Studio. As a developer, you will have to set up the datasets needed for training the model, deploy a model based on a solution/template we created for you and is available at the Azure AI Gallery and finally set up the environment variables targeting your model in Azure.
The product recommendations system is an Azure Machined Learning Studio model, based on the Matchbox Recommender module available in Azure ML Studio. The Matchbox Recommender Module in Azure ML is based on the Matchbox model originally developed by Microsoft Research.
Simplifying, the product recommendations model is based on the products that other users ordered in the past. So, if a user ordered product A, product B and product C, it is likely or possible that you, as another user ordering product A, you might also like product B and C.
The model to consume or run from eShopOnContainersAI is published as a Web Service in Azure ML Studio, in Azure's cloud.
Pre-requisites:
- Azure subscription account: If you don't have an account already on Azure, you can opt in for free account and get free dollars to spent on services
- Azure Machine Learning Studio workspace: Once you have a valid Azure account, you will need to create a Machine Learning Studio workspace
After setting up your account and workspace, you will download the pre-built Products Recommender model into your workspace. The model is available at Product Recommendation model at the Azure AI Gallery.
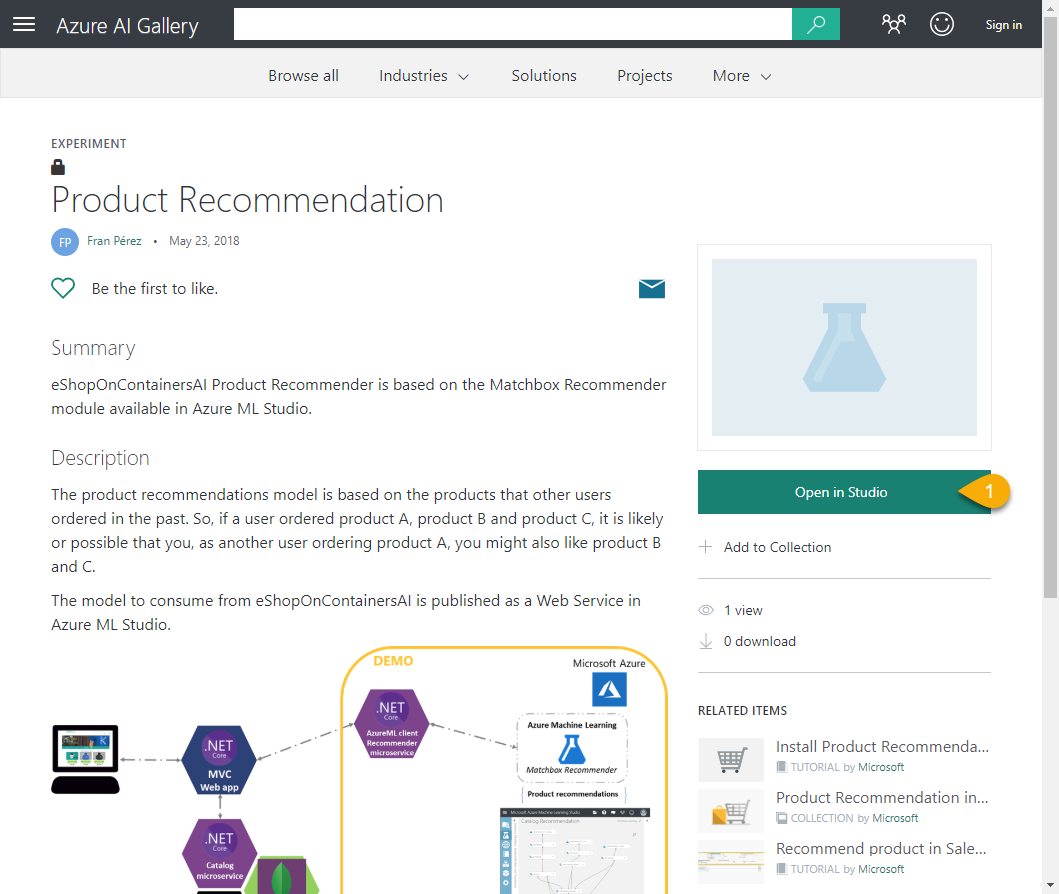
In the former page, you click on 'Open in Studio' button. When you are back in the Machine Learning Studio, you will be prompted to select the region / workspace you want to use.

After few seconds, you will see the Catalog Recommendation experiment. At the bottom of the screen, there is a menu containing action related to the experiment.
Click on the 'Run' button, and the model will be executed in ML Studio.
When the execution finishes (wait a few minutes), if there is no error, you will be able to produce the predictive experiment, clicking on 'SetUp Web Service' > 'Predictive Web Service'.

A new tab is created. Next to the "Training Experiment" tab, it appears a new "Predictive experiment" tab. In the new tab, you need to click on 'Run' to execute the predictive experiment (wait a few minutes), and check everything is fine.
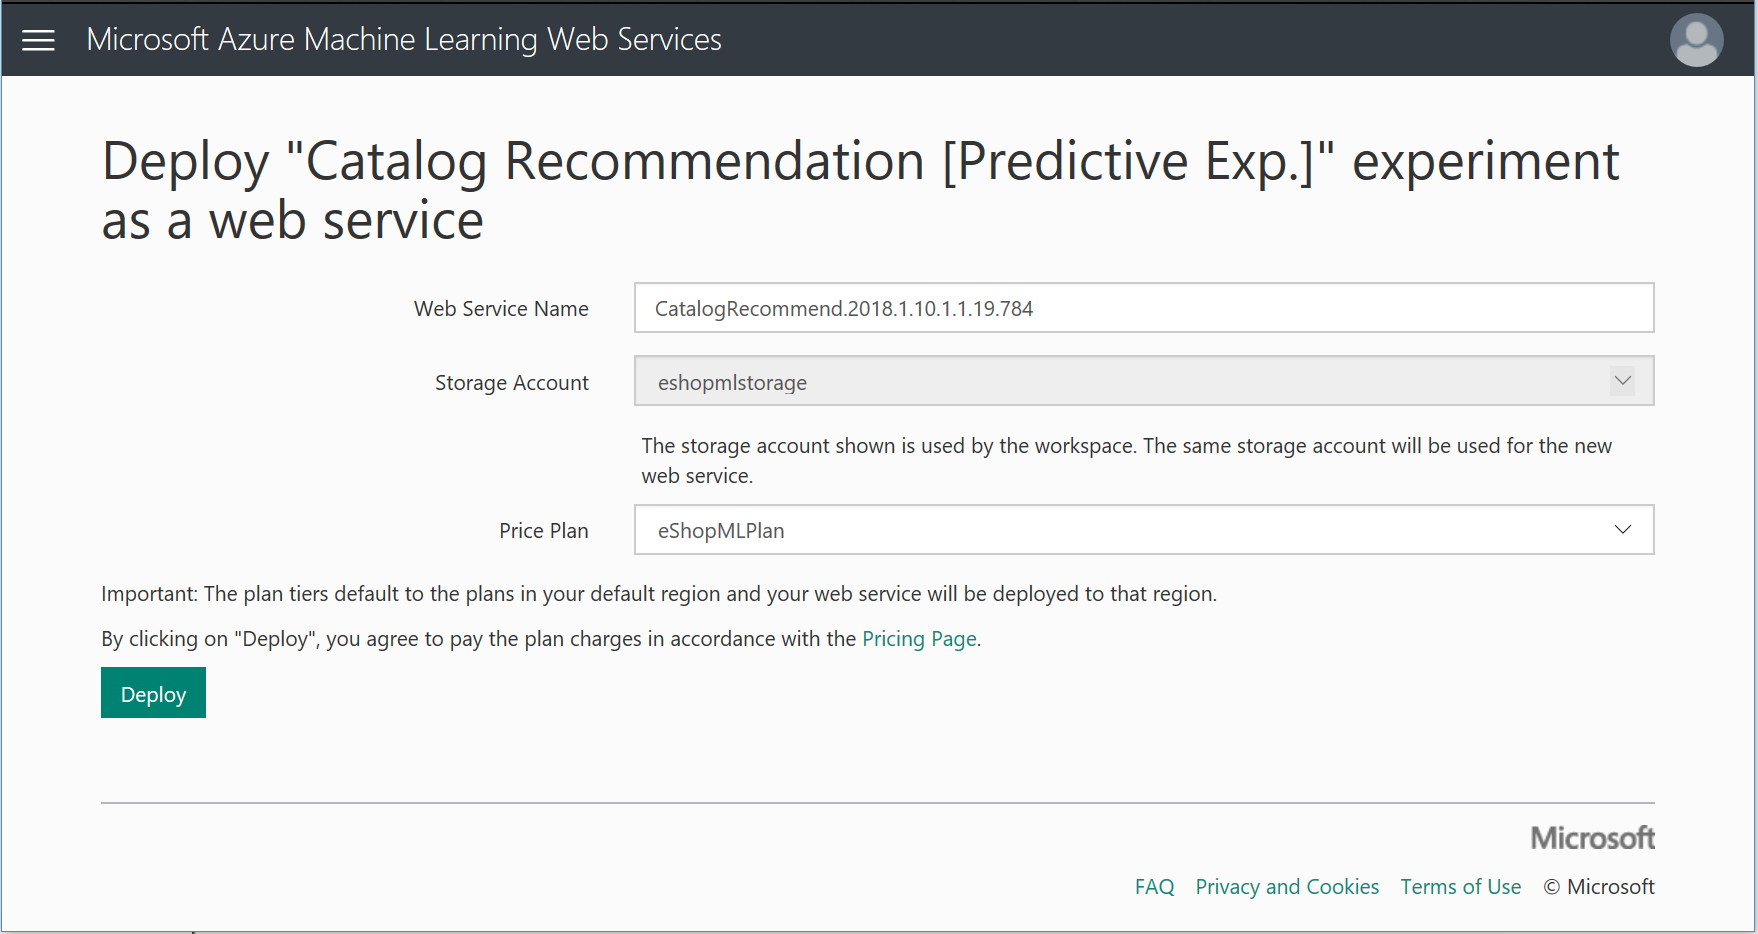
After the execution finishes, you will be able to click on 'Deploy as Web Service' > 'Deploy Web Service [New] Preview'.

Then you should get a new page open in the browser where you select the deployment storage account and the price plan you desire.
Then, click on 'Deploy', so it deploys the Web Service on Azure.
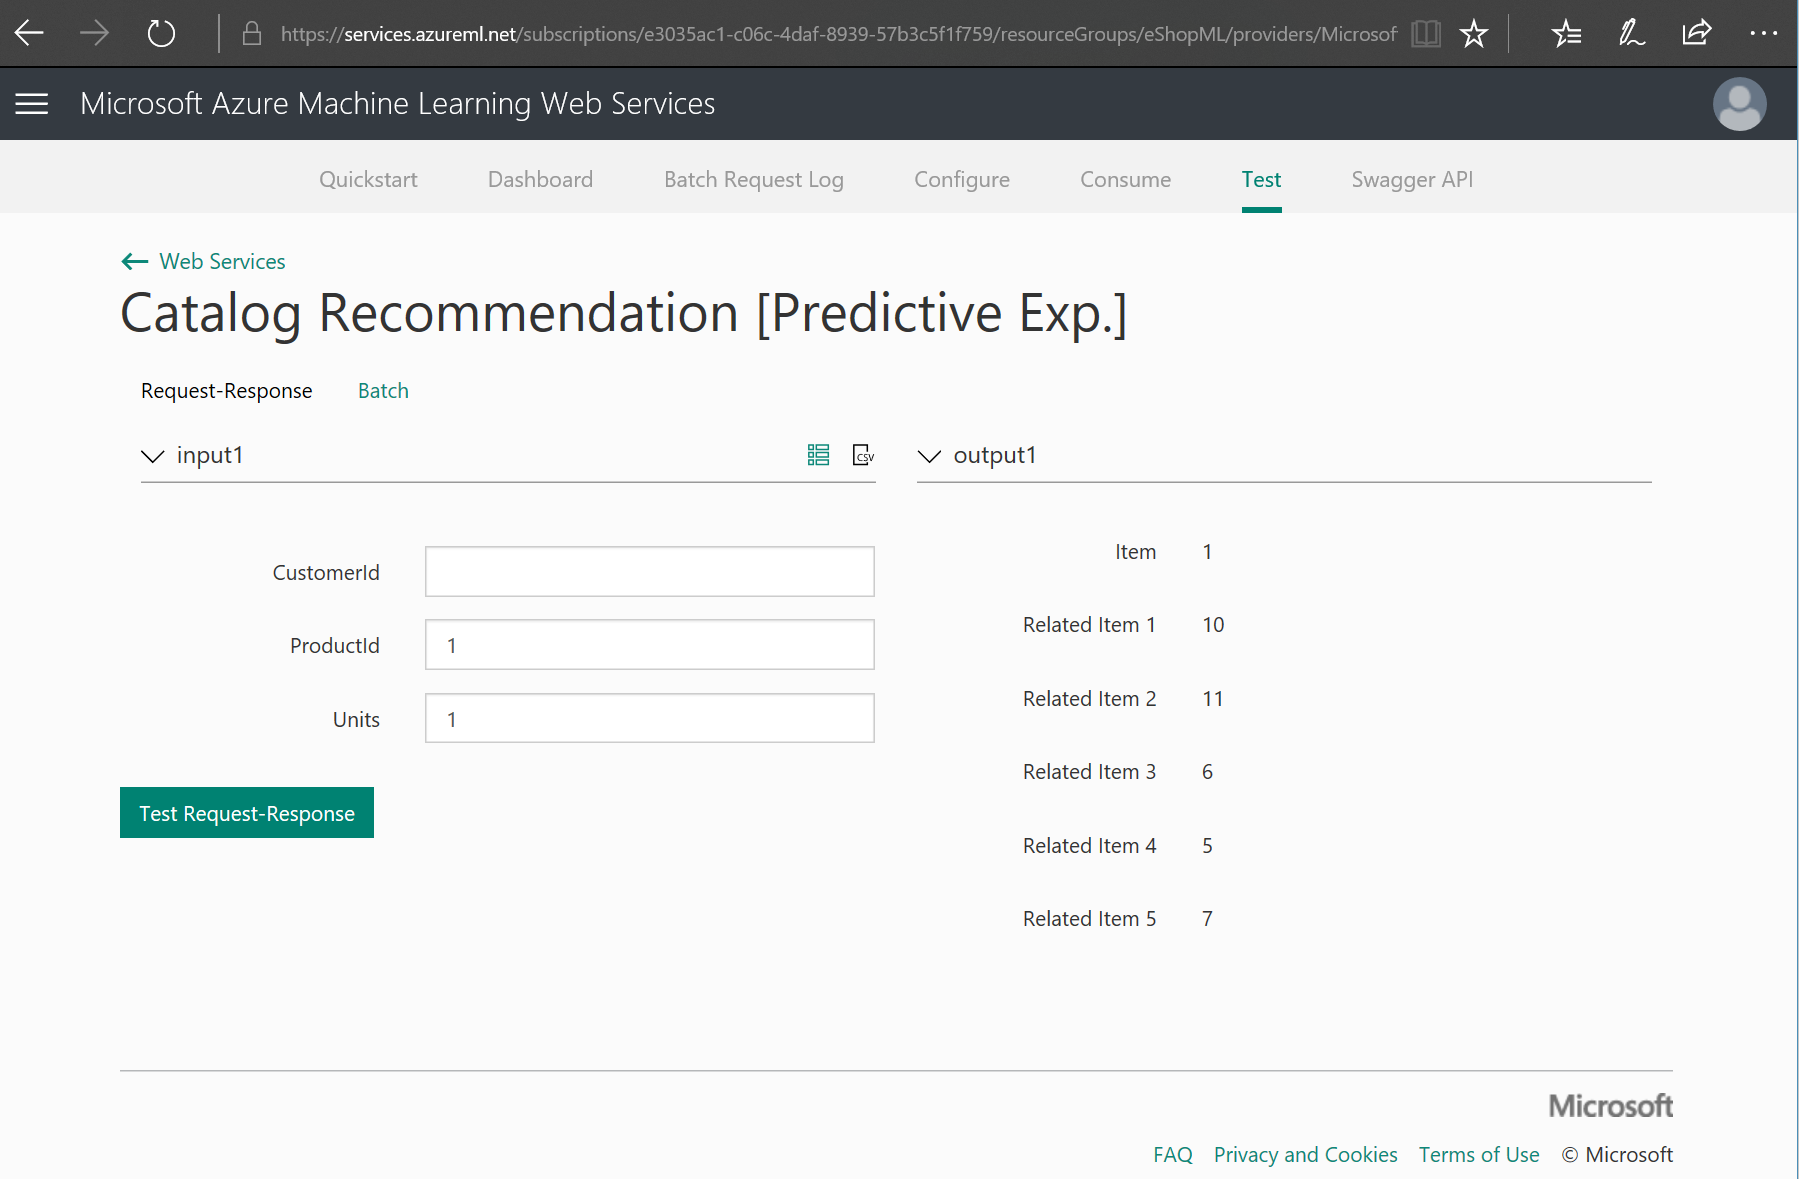
In the top menu, you can select the "Test" menu option and test the deployed catalog recommendation web service, as in the following test example.
Finally, click on the 'Consume' option at the top menu so you can see the secret keys you'll need to use from your .NET code in order to consume/invoke this web service.

When updating the .NET application project (eShopOnContainersAI MVC app), you will need the following configuration data:
- The Primary Key or Secondary Key
- The Request-Response Uri.
So, copy those values to any safe place or text file that you can access in the next section when updating the eShopOnContainersAI solution.
Update the eShopOnContainersAI Environment Variables holding the Azure ML Products recommender key and uri
You need to update the file .env which is located at the root folder of eShopOnContainersAI. This is the .env file as placed in GitHub.
Note that the .env file is not visible from Visual Studio, so you need to locate it using the file explorer and update it using any editor.
When editing the .env file, you need to comment out and update the entries for the following environment variables:
- ESHOPAI_AML_RECOM_KEY : recommendation service key
- ESHOPAI_AML_RECOM_URI : recommendation service request/response URI
For instance, the following screenshot shows the .env file being edited with Visual Studio Code:

As mentioned, the recommendation service key and the recommendation service URI are available from the Azure Machine Learning Studio. If you didn't copy those values into a text file, just select the deployed web service from last step in the previous section, go to the configuration page of the web service and copy those values.
Depending on the type of web service you deployed (either classic or new), you can get different API key and request / response URI.
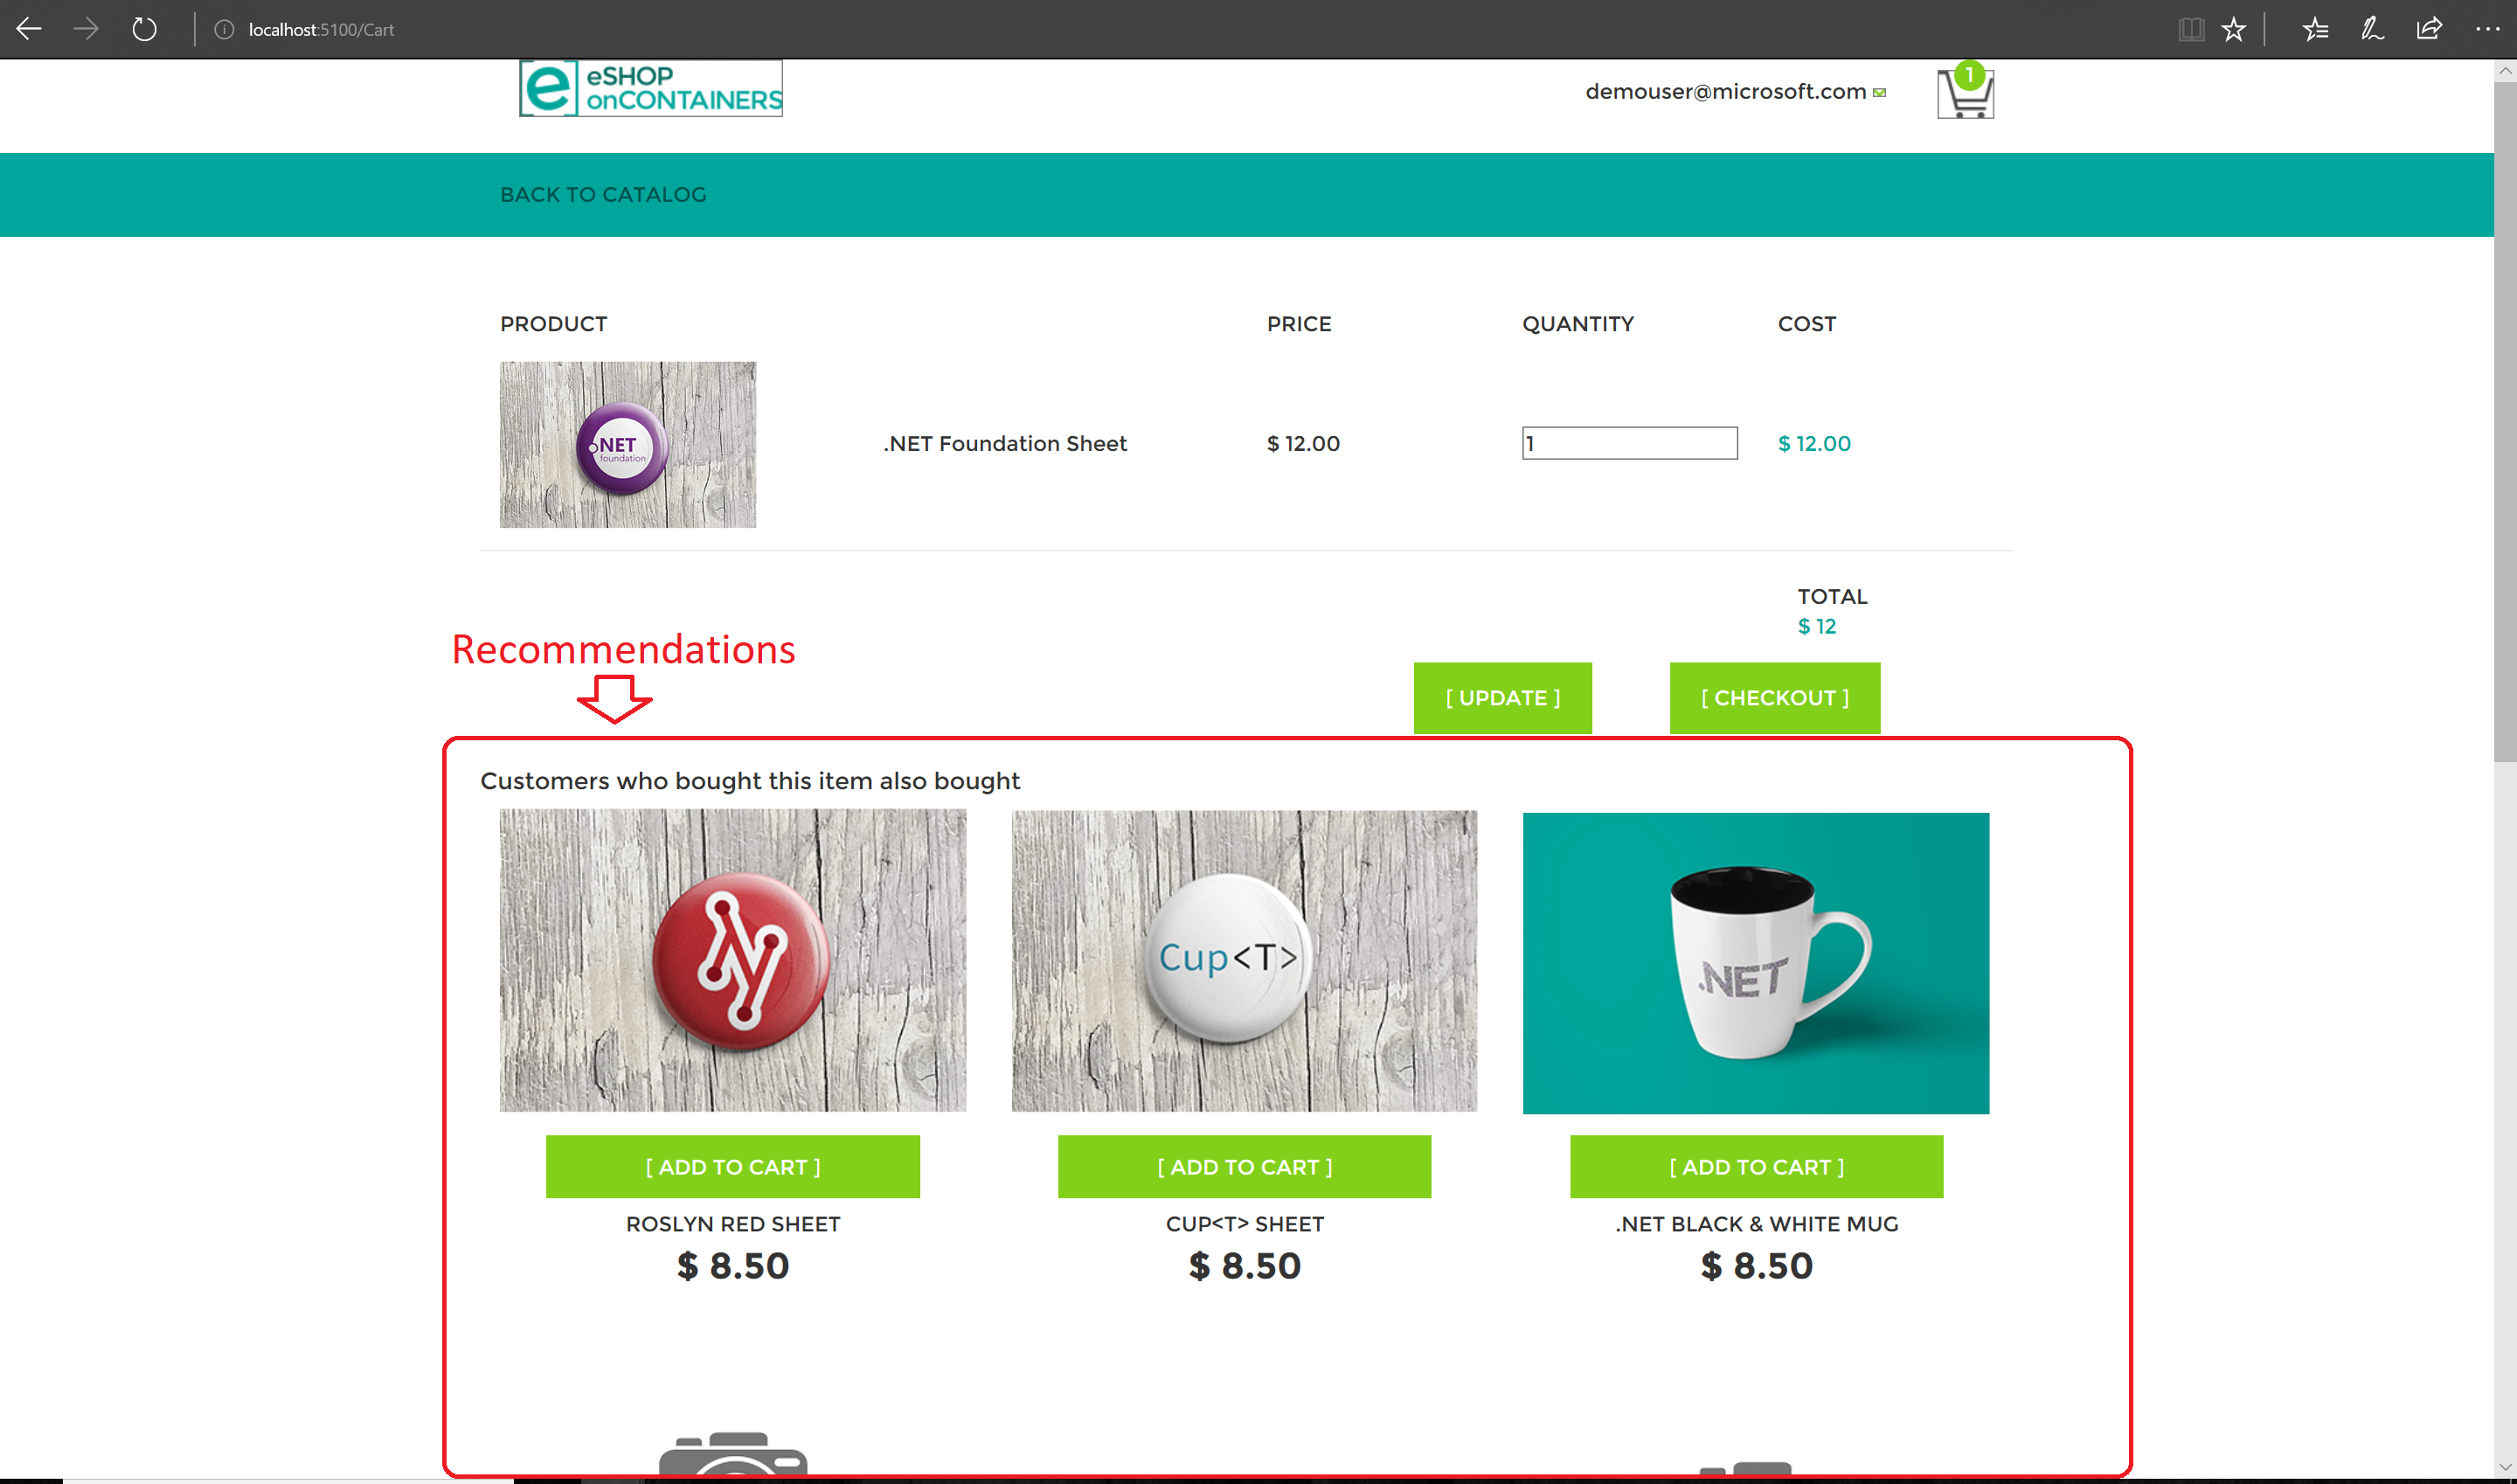
In order to see the product recommender in action, run eShopOnContainersAI in the browser at http://localhost:5100. Once you see the home page, add one article to the basket. Then, enter into the basket and you will see additional recommended products based on the ML model which is based on articles that other shoppers also bought when buying the same article you just added, as shown in the following screenshot when you add the ".NET Foundation Frisbee" article.
Important notes on the recommendations:
First, the recommendations you get in your execution might be different than the ones we show in the screenshot. It depends on the source data and the model's training that might be different.
Second, note that the current recommender system shows recommendations based only on the first article added into the basket. This is a business limitation "by design" to keep it simple, since eShopOnContainersAI doesn't have a single page per product where the recommendations could also be shown.
The basket could also be evolved by having multiple recommendation-lists, one per article in the basket, but that business feature is out of the scope of our current sample application. You could implement/evolve it and provide a PR, if you'd like. :)
The global environment variables from the .env file are used at the docker-compose.override.yml files, like here:
docker-compose.override.yml
    ai.productrecommender.azureml.api:
      environment:
       - AzureMachineLearning__RecommendationAPIKey=${ESHOPAI_AML_RECOM_KEY}
       - AzureMachineLearning__RecommendationUri=${ESHOPAI_AML_RECOM_URI}
Then, in the C# code, the following lines show you how to consume the Azure ML Studio Web Service:
C# Code
AI.ProductRecommender / AI.ProductRecommender.AzureML.API / Recommender / AzureMLClient.cs
     string apiKey = _catalogSettings.AzureMachineLearning.RecommendationAPIKey;
     string apiUri = _catalogSettings.AzureMachineLearning.RecommendationUri;
     //... Other code

     client.DefaultRequestHeaders.Authorization = new AuthenticationHeaderValue("Bearer", apiKey);
     client.BaseAddress = new Uri(apiUri);

     //Invoke the Azure ML Studio Web Service
HttpResponseMessage response = await client.PostAsync(String.Empty, new JsonContent(scoreRequest)); When you use the experiment downloaded from the Azure AI Gallery, you are using our original datasets.
The datasets used by this model are based on 3 files:
- eShopContainersAI - users : users data
- eShopContainersAI - catalog : product catalog data
- eShopContainersAI - order items : order items data
You can check that out by clicking on the "DATASETS" menu option at the left hand side of Azure ML Studio Workspace, as in the following image:

As mentioned, the product recommendations model is based on the products that other users ordered in the past. So, if a user ordered product A, product B and product C, it is likely or possible that you, as another user ordering product A, you might also like product B and C.
In the case where you need to train the model with your own datasets, so you improve the recomendations based on your own data, you need to upload those three files into Azure Machine Learning Studio.
If you previously updated or added eShopOnContainersAI SQL databases with your own data for products, you can obtain those files using the eShopOnContainersAI microservices, which are accessible either via swagger UI or with their direct endpoint service:
-
users dump or users swagger: endpoint for producing users.csv file
-
catalog dump or catalog swagger: endpoint for producing catalog.csv file
-
orders dump or ordering swagger: endpoint for producing orderItems.csv file
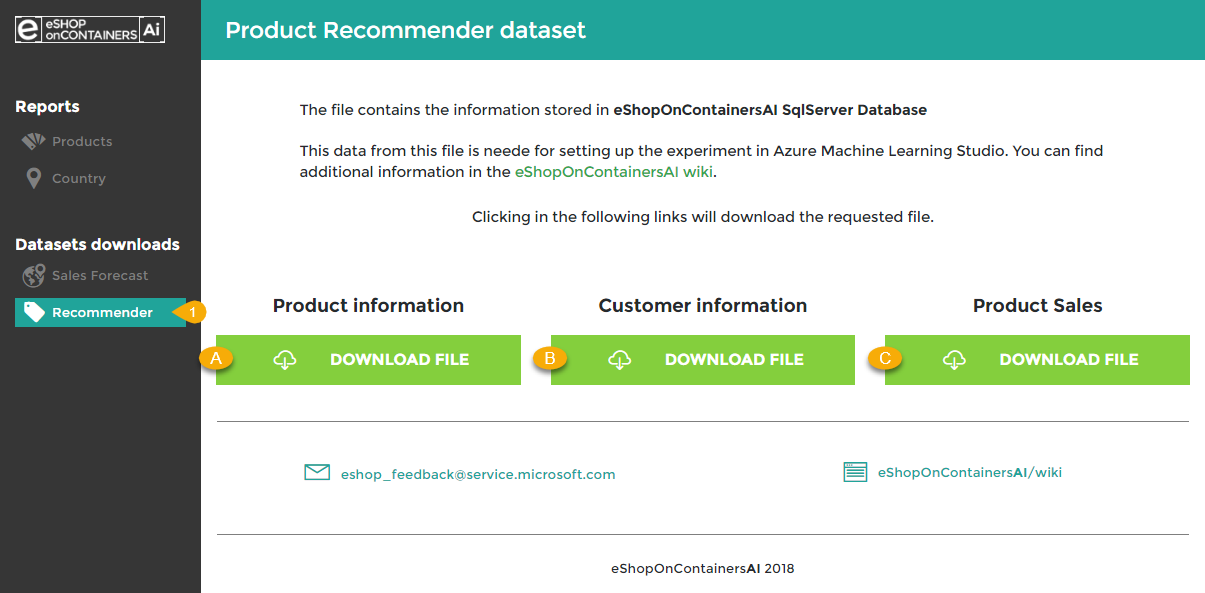
You can also use the Dashboard to download those files. The Dashboard is reachable in the local development box at http://localhost:5300/Datasets/Recommendation
Once these files are downloaded into your local machine, you can upload them into the Machine Learning Studio. In the workspace. Back at ML Studio, select New > Dataset > From local file from the bottom menu.

In the dialog box, you click on 'Choose file' and select the file from your local machine; you have to check 'This is a new version of an existing dataset', and from the dropdown, select the dataset to deprecate.

Next thing you need to do it to update the model. Open the Catalog Recommendation experiment, and then from Saved Datasets > My Datasets, select tha dataset/s you want to update in the model, and drop it in the canvas experiment.

After updating the dataset/s in the canvas, you will need to proceed as stated in the previous Model Management section. Along the process, if you override the original web service, the API key and request/response URI will remain the same.