Here is a short guide on how to boot an Ubuntu Server installation from USB using only the serial console.
This has been tested using Ubuntu Server 20.04 on a PCEngines APU1 device.
These instructions have not been tested with UEFI boot as this is not supported by the PCEngines APU1.
-
Download an Ubuntu Server amd64 ISO file.
-
Create a USB boot disk from the ISO (e.g., using Rufus).
-
Mount the USB boot disk and modify the following files:
isolinux/isolinux.cfg
# D-I config version 2.0
# search path for the c32 support libraries (libcom32, libutil etc.)
CONSOLE 0
SERIAL 0 115200 0
path
include menu.cfg
default vesamenu.c32
prompt 0
timeout 50
isolinux/txt.cfg
default install
label install
menu label ^Install Ubuntu Server (ttyS0)
kernel /casper/vmlinuz
append vga=off initrd=/casper/initrd console=ttyS0,115200n8
syslinux.cfg
CONSOLE 0
SERIAL 0 115200 0

DEFAULT loadconfig

LABEL loadconfig
CONFIG /isolinux/isolinux.cfg
APPEND /isolinux/
Ensure that the hardware BIOS has been appropriately configured to use a serial port at 115200/8/N.
- Attach serial console from client using PuTTY on Windows or
screenon Linux:
% screen /dev/ttyS0 115200
- Insert the USB boot drive and power on the device.
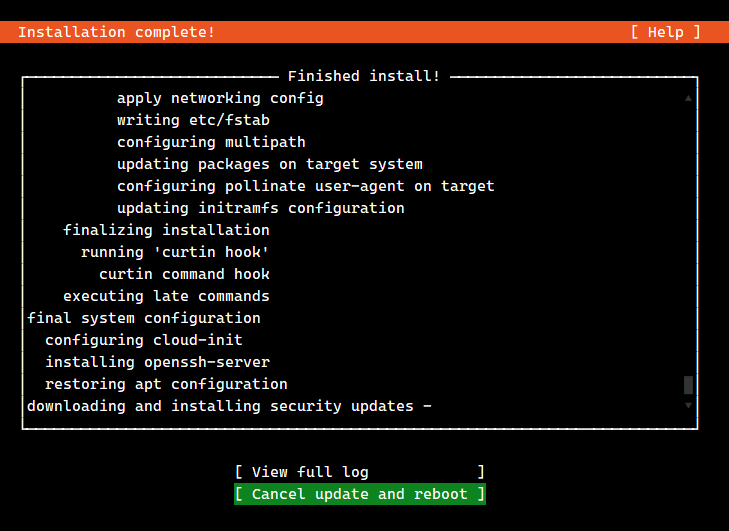
- Proceed with normal Ubuntu installation.
- After installation, edit /etc/default/grub as follows:
GRUB_CMDLINE_LINUX_DEFAULT=""
GRUB_TERMINAL='serial console'
GRUB_CMDLINE_LINUX="console=tty0 console=ttyS0,115200n8"
GRUB_SERIAL_COMMAND="serial --speed=115200 --unit=0 --word=8 --parity=no --stop=1"
- Update the grub configuration:
# update-grub