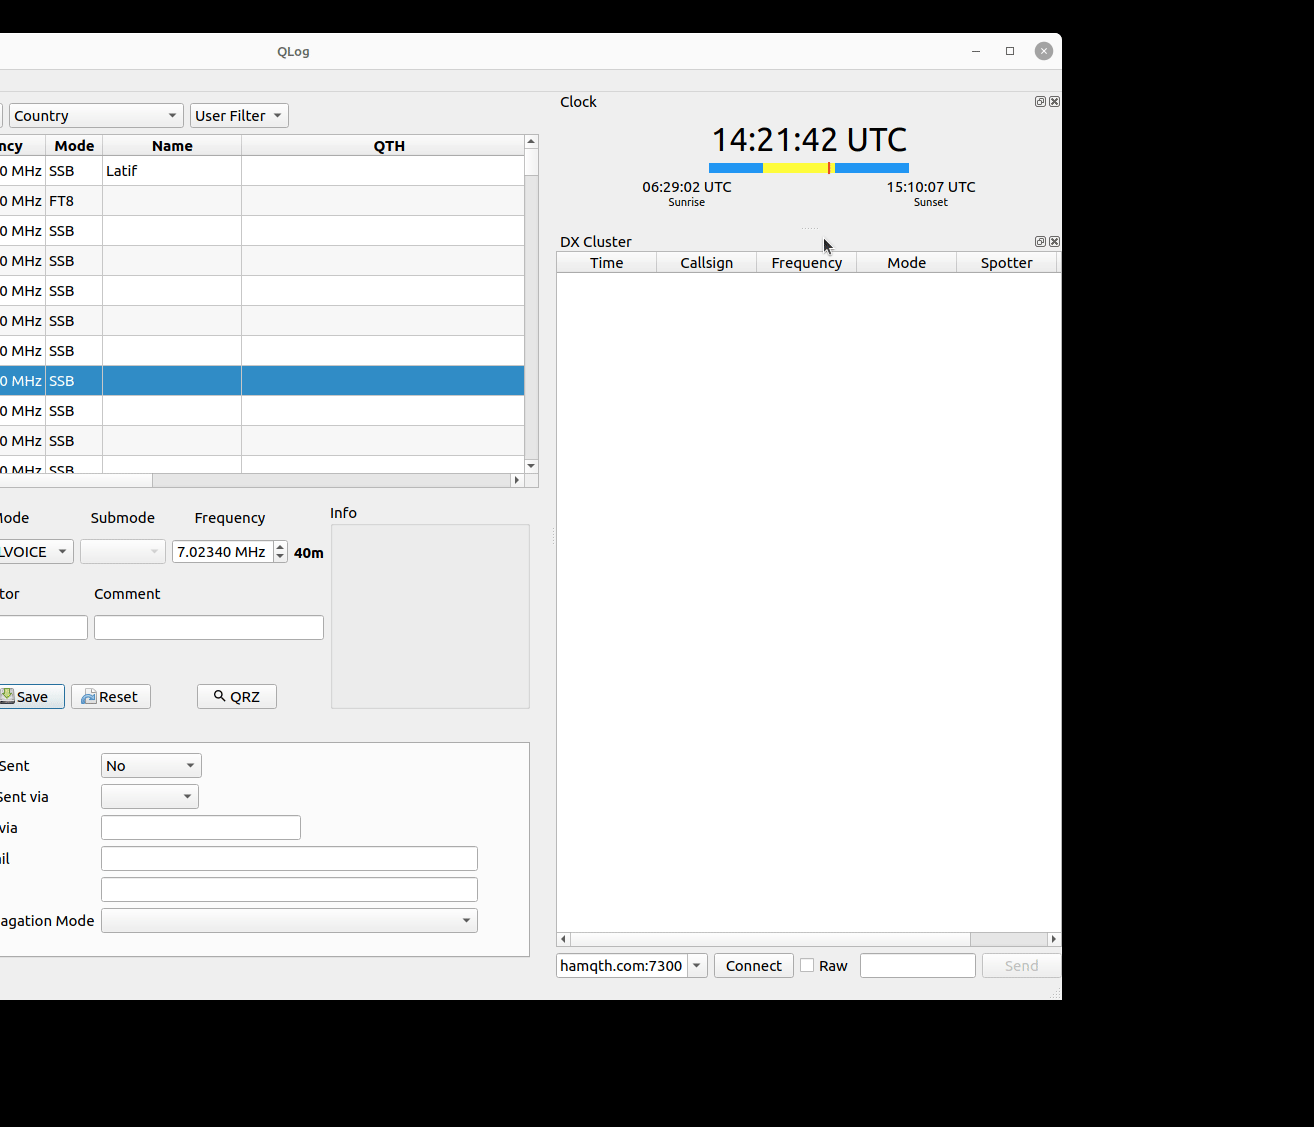
Main Window
The main windows is divided into the following sections:
- QSO Table
- QSO Filters
- New QSO
- Additional Windows
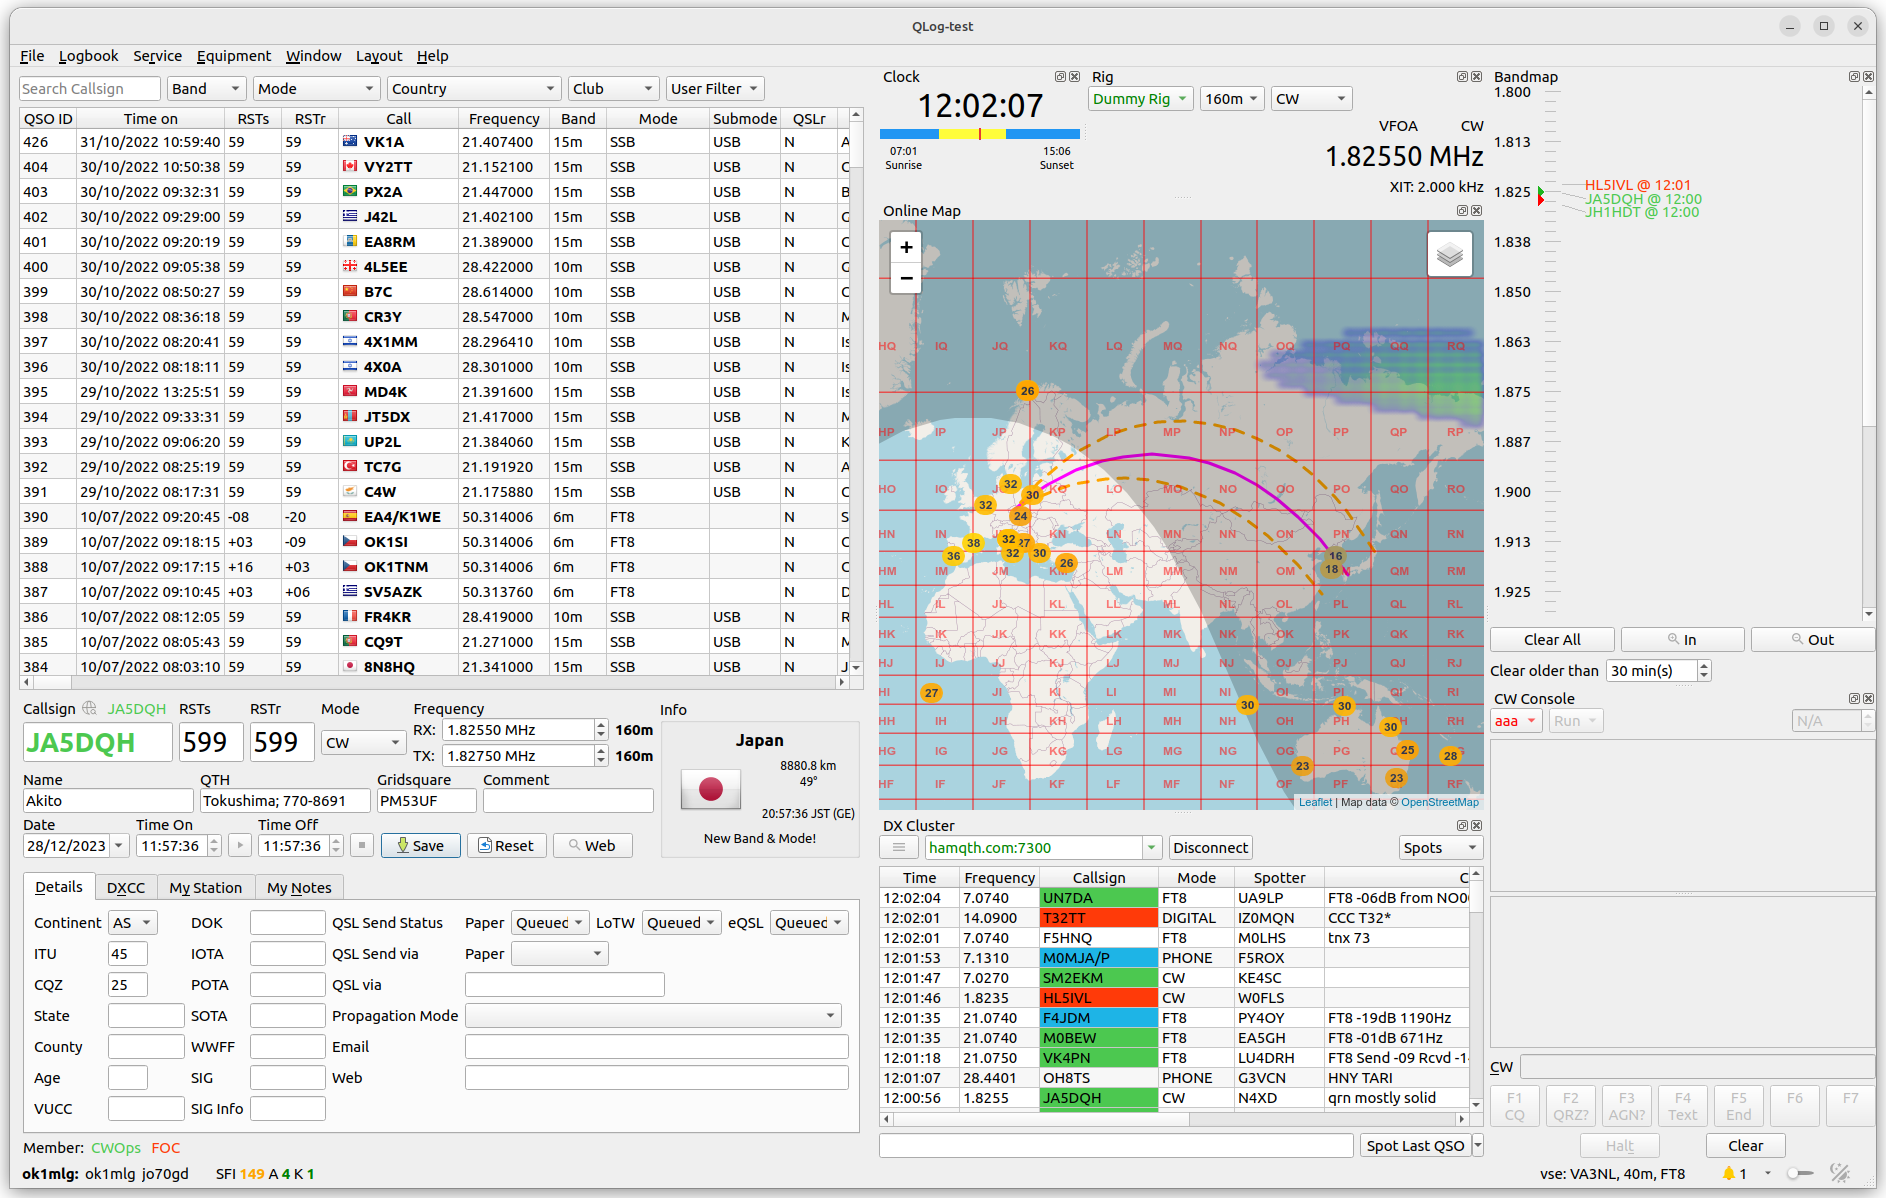
QSO table is a core component of the main windows where all user’s QSO are shown. The default setting of the table shows only selected QSO information such as Time, Call, RST, Frequency etc.
The QSO information can be edited when user presses CTRL+E on the selected value. It is also possible to start Field Edit mode via window Context Menu (Right-click). It is also possible to double-click on the QSO record, that will launch the [QSO Details]] dialog.
QSO Table implements full set of ADIF fields and one additional field Additional Fields. The Additional Field contains all non-ADIF field or ADIF Application-Defined fields in JSON form. It is up to the user to decide what to store here, but the field is limited by the fact that it must be in JSON format and the fields have to have format described as ADIF's Application-Defined Fields .
Example of the Additional Fields format
{ "app_cqrlog_dxcc": "F", "app_cqrlog_profile": "2|JO70GD|Bohdanecska||" }
The additional fields are exported to the files but they are not sent to the external services LoTW, eQSL etc.
The QSO summary information can be displayed as a tooltip of the Callsign column.
Each column can be moved by the operator to the order based on preferences. This column layout is saved for future use. Operator only needs to drag the column and move it to the desired position.
| Context Menu Field | Description |
|---|---|
| Edit Value | Editing of the currently selected logbook field. If more than one row is selected, these row are changed so that the value of the edited item is used for all selected records |
| Export Selected | Export currently selected logbook record |
| Filter Callsign | uses currently selected callsign as a callsign filter |
| Lookup on QRZ | search callsign on QRZ |
| Column Visibility | Logbook column visibility setting |
| Delete | deletes currently selected logbook record |
The user can display received QSL cards from eQSL by double-clicking on column eQSLr. QSL Image is downloaded from eQSL service and shown in default image viewer. The image is locally store for future usage.
If user wants to import/show a paper QSL then it is possible via double-clicking on the column QSLr.
In both cases the field must have the value 'Y'
The QSO Table can be filtered via callsign, pre-defined or user-defined filters.
QLog has 3 pre-defined filters
- Band Filter – only enabled bands are shown
- Mode Filter – only enabled modes are shown
- Country Filter – only countries in the log
User-defined filter can be defined via Logbook → QSO Filters setting.
All filters, callsign match, pre-defined and user-defined filters can be used in the same table. The result is computed as logical statement
callsign AND band AND mode AND Country AND user-defined
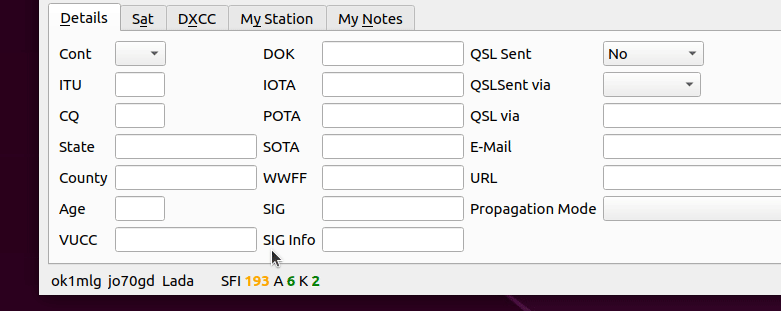
An user can insert many QSO parameters (Details Tab). Some of them are computed automatically (Continent, ITU, CQZ etc), some of them have an auto-completion feature (IOTA, SOTA, WWFF), some of them have a free text format.
QSO time can be manually started by pressing 

RSTs is focused. The time can be restarted by pressing F8 (or stopped by F9). Time-off is flashing green when QSO Time is running.
If POTA, SOTA or WWFF is entered then QLog fill/replace current QTH and Locator by POTA, SOTA or WWFF information. Focusing the given field and pressing enter, the QTH and Locator data are used from the xOTA program definition. If there is both POTA and SOTA or WWFF for one connection, pressing enter in the corresponding field will use the given QTH or locator. In case of SOTA field, QLog shows and stores an altitude (if the altitude is available).
The SAT Tab is active only in case when Propagation mode is set to “SATELLITE”. An user can define the name of SAT and used mode.
DXCC Tab shows DXCC information related to the current callsign.
My Station Tab contains information related to an own station. The important parameter is Station Profile. The station profile defined own callsign, own gridsquare, own QTH and operator name. Beside mentioned the station profile, the Tab contains Antenna, Rig profiles.
My Notes Tab is used to store your own general notes about the QSO – free text.
If the current Rig Profile contains a RX/TX frequency offsets the QLog shows recalculated RX/TX frequencies.
If a new QSO is saved then additional information are stored or computed:
- Distance (when Locator is present)
- value of SFI, k-index, a-index
- etc.
QSO fields are automatically cleared when the frequency changes. This QSY-Wiping can be enabled or disabled viaSetting→ Equipment→Rig Rig Feature: QSY Wiping. QSO fields are delete when all conditions below are met:
-
QSY Wipingsetting is enabled - Rig is online (connected)
- At least one QSO field has been filled/modified
- QSO has not been started (QSO Time is not running)
- The difference between the QSO Frequency and the current frequency is greater than the Rig filter bandwidth for the given mode (CW, SSB etc). If it is possible, the Rig filter bandwidth is taken from the rig. If it is not possible, QLog contain pre-defined bandwidths.
This feature is not available for rigs that do not provide an information about the current frequency - Rig Feature Freq is not active or it is disabled by user.
Callsign Whisperer is a little thing that can make the operator's work more pleasant.
If the operator tunes and his/her rig is tuned to the frequency where a station is being announced (via DX Cluster), then the Callsign of spotted station is shown next to the Callsign label. If the operator wants to begin QSO with the spotted station, he/she does not need to write anything in the Callsign field, just needs to move the focus to the RSTs field. Callsign will be filled automatically . The callsign will be filled without starting QSO - by pressing ALT + Return (the main Enter button - no numlock's Enter button)
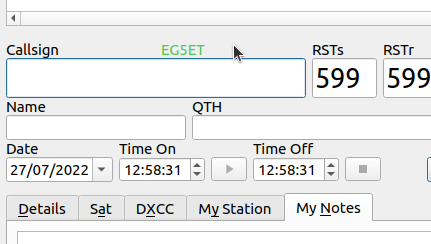
The New Contact Entry dialog can be switched to the Manual Entry mode (Logbook→ Manual Entry). The new contact can be added as usually however time, frequecy, profiles value are not taken from their common sources. An operator can freely enter these fields without affecting the rest of QLog, and on the other hand QLog does not affect these fields.
The entered QSO is isolated from fields sources. This mod is useful, for example, in the case when an operator wants to insert QSOs from the past, written down on paper.
All fields whose normal functionality is affected by this mode are highlighted in orange.
Current propagation data are shown at the bottom of the main window. Data are updated every 15 minutes. A detailed view of the source data can be obtained as a text tooltip (simply placing mouse cursor over the text).
QLog supports changing the QT style via the -style input parameter. However, there are some limitations.
- If the input parameter is not specified, the default style is
Fusionstyle; -
Dark modeis only supported forFusionstyle. If another style is selected, theDark Modeis disabled; - The QLog layout is optimized and tuned for the default style (
Fusion).
QLog contains additional Windows
All Windows can be docked inside the Main Application Window or floated as a top-level window on the desktop. The windows layout is saved automatically.